Learning how to play violin can feel overwhelming at first because so many things have to happen at the same time.
You’re holding the violin, positioning your left hand, finding the right notes, controlling the bow, and listening to the sound you’re producing — all at once.
That’s why I don’t recommend trying to learn everything at once.
After more than 25 years of teaching violin, I’ve found that beginners make much better progress when they learn the major movements separately and then gradually bring them together.
That’s exactly what we’re going to do in this guide.
Whether this is the first Lumen Corda lesson you’ve found or you’ve been following the series from the beginning, I’ll walk you through how to put the fundamentals together and actually start playing the violin.
What You Should Know Before You Start
This guide builds on three fundamental areas of violin playing. If any of these are brand new to you, you may want to review the earlier lessons first:
Part 1 — Setting Up Your Violin – 5 Steps
Learn how to properly set up your instrument and get comfortable holding it.
→ Review Part 1
Part 2 — Your Left Hand & First Notes
Learn proper left-hand position and how to play your first notes through plucking.
→ Review Part 2
Part 3 — Learning to Use the Bow
Build your bow hold and learn the basic movements needed to produce a controlled sound.
→ Review Part 3
Completely new to violin? I recommend starting with Part 1 and working through the series in order. If you’re already comfortable with these fundamentals, keep going.
💡 What You'll Learn in This Article
- How to know when you're ready to combine both hands
- Why the bow stroke should come from efficient forearm movement
- How my four-part stroke helps reduce upper-arm tension
- How to coordinate bowing with your first fingered notes
- What to focus on when playing your first song
- Why quality practice matters more than simply practicing longer
- How to recognize when you need feedback
When Should You Put Both Hands Together?
You don’t have to wait months.
In fact, I’ve had many adult students coordinate the left and right hands within their first month.
What I don’t like is starting on day one by asking the student to do everything.
Remember the juggling analogy from Part 2.
If you’ve never juggled before, starting with four balls isn’t more ambitious.
It’s just harder to do all at once.
The same thing goes with the violin.
If you’ve spent time developing the left hand separately and the bow separately, then when you combine them, your brain already has some idea what each side is supposed to do.
That’s a completely different experience from trying to discover everything at once.
If your bow hand is still very tense or you haven’t practiced the basic right-hand drills yet, revisit Part 3 first.
Before You Play: Violin Tools that Can Help
A few simple tools can make beginner practice much easier.
I don’t believe tools replace technique.
But used correctly, they can help you understand what good technique feels and sounds like.
Watch Lesson 13: Review the beginner tools that can help you with setup, practice, and feedback as you begin putting the full technique together.
Here are the tools and accessories I mentioned in the video. You certainly don’t need all of these to learn how to play violin, but each can make practicing or caring for your instrument a little easier.
Bow-Right Bow Guide
One of my favorite tools for beginners who struggle to keep the bow straight. It gives you a physical reference while you practice so you can start developing a more consistent bow path.
View the Bow-Right on Amazon →
Hill & Sons Violin Polish
A good option for occasional violin cleaning and polishing. I recommend using it sparingly with a soft cloth rather than applying a lot at once.
View Hill & Sons Violin Polish on Amazon →
Microfiber Cleaning Cloth
This is the simple one I’d use most often. Wiping down your violin after playing helps remove rosin dust, fingerprints, and perspiration before they build up.
View the Microfiber Cloth on Amazon →
Violin Practice Mute
If you live with other people, practice early or late, or simply need to reduce your volume, a practice mute can make it much easier to get your practice time in without disturbing everyone around you.
View the Violin Practice Mute on Amazon →
Jade Rosin
I’ve recommended Jade Rosin earlier in this series, and it’s still my go-to recommendation. Good rosin helps the bow grip the string consistently, and Jade is known for its smooth grip and relatively low dust.
View Jade Rosin on Amazon →
Disclosure: Some of the links above are affiliate links. If you purchase through one of these links, I may earn a small commission at no additional cost to you.
Now Let’s Start Moving the Bow
You’ve learned how to hold the bow. Now it’s time to actually move it across the strings and begin producing a sound.
This is an exciting step, but it’s also where beginners can quickly develop habits that make bowing much harder than it needs to be.
One of the most common is using too much of the upper arm.
When the entire bow stroke comes from the shoulder and upper arm, the movement becomes large and tense. That stiffness makes it much harder to control the bow and eventually produce a consistent sound.
Instead, I want you to think about making the bow stroke efficient and natural.
Your forearm should be able to extend and release naturally as the bow travels, without forcing the entire motion from your shoulder.
Watch Lesson 14: Pay attention to where the movement comes from. The goal is efficient bow travel without locking the upper arm.
Why I Teach a Four-Part Stroke
A bow stroke can feel like one continuous movement.
But beginners often do better when we break that movement into smaller pieces.
That’s the purpose of what I call the four-part stroke.
I use it to help students understand how the arm should extend and release instead of keeping the entire stroke trapped in the upper arm.
When a beginner just “moves the bow,” the body tends to recruit the strongest and easiest muscles.
That usually means too much shoulder and upper arm.
Breaking the stroke into parts makes the movement easier to inspect.
Watch Lesson 15: Follow the four-part stroke slowly and focus on forearm extension and release instead of driving the motion from the upper arm.
If a movement feels too complicated, break it into smaller movements until you can understand what your body is doing. That's one of the reasons I use drills throughout this beginner series. A drill exposes the physical problem before the student hides it inside a song.
How to Practice the Four-Part Stroke
Don’t rush.
You don’t need to perform the movement quickly for it to be useful.
Start with the bow on the string.
Move through the stroke slowly enough that you can actually notice what the arm is doing.
Ask yourself:
Is the upper arm doing all the work?
Am I extending naturally from the forearm?
Did my wrist become stiff?
Did the bow hold tighten when I moved farther?
Does the thumb still feel relaxed?
Slow practice gives you time to notice.
That matters because awareness is one of the biggest things I’m trying to build in a beginner.
🎻 Try This: Freeze the Stroke
Move the bow slowly.
At several points during the stroke, stop.
Without changing anything, inspect the position.
Is your shoulder tight?
Did the bow hand squeeze?
Is the wrist still mobile?
Can you remove effort while keeping the bow stable?
Then continue.
You’re teaching your body to stay relaxed through the entire motion instead of only at the starting point.
Now Add the Left Hand
Once the bow movement is reasonably stable, we can begin combining it with the notes you practiced earlier.
This is where the coordination challenge returns.
But now it should be much more manageable.
Your left hand already understands some basic finger placement.
Your bow hand already has a basic shape.
Your arm has practiced moving independently.
Now we’re simply connecting skills that already have some foundation.
That’s why isolating the hands earlier wasn’t wasted time.
It was preparation.
Don't Let the Left Hand Fall Apart When You Add the Bow
This is one of the first things I watch.
A student may have a good left-hand position while plucking.
Then the bow enters the picture.
Suddenly the knuckles drop.
The fingers press too hard.
The wrist changes.
The hand tightens because the brain is now concentrating on the right side.
That’s normal.
But we want to catch it.
Coordination shouldn’t come at the expense of the fundamentals you’ve already built.
Your Bow Hold May Need to Be Rebuilt Again
The same thing can happen on the right side.
You may have a relaxed bow hold during the rocking bow drill.
Then you start worrying about notes.
The thumb tightens.
The fingers squeeze.
The wrist becomes rigid.
Now you’re back to the banana thumb.
That doesn’t mean the earlier work failed.
It means your attention is being divided.
This is where repetition with awareness matters.
Stop.
Reset.
Play again.
Don’t keep going simply because you’re trying to finish the song.
What Should You Focus on When Playing Your First Song?
Not impressing anyone.
This stage is full of adjustments.
If I’m teaching you privately, I’m watching:
- Is the bow hand still relaxed?
- Is the thumb pressing?
- Is the forearm extending?
- Is the left hand still high?
- Are the knuckles positioned correctly?
- Are the fingers pressing too hard?
- Are the notes in tune?
- Is the bow moving smoothly?
- Is the sound clean?
That’s a lot.
Which is exactly why I prefer a simple song.
A technically easy song gives us room to focus on how you’re playing it.
I’d rather hear you play a very easy piece with good fundamentals than rush into something much harder while the technique falls apart.
Your First Violin Song
This is the point where the separate pieces become music.
The song itself doesn’t need to be impressive.
The goal is to combine:
left-hand placement, intonation, bow hold, stroke, rhythm, and awareness.
Watch Lesson 16: Use this first song as a coordination exercise. Focus less on speed and more on keeping the left and right-hand fundamentals intact.
Simple Music Can Teach Advanced Habits
This is a concept I wish more beginners understood.
A simple song isn’t “beneath” you.
You can use simple music to practice extremely important technique.
Can you keep the bow relaxed?
Can you play every note in tune?
Can you use light finger pressure?
Can you keep the hand high?
Can you produce a clean tone?
Can you coordinate the stroke without tightening the upper arm?
Those are not simple skills.
The notes may be easy.
The quality is the challenge.
I would rather hear a beginner play simple music beautifully than difficult music with fundamentals that are falling apart. Good fundamentals are what eventually make harder music possible.
Don't Confuse Practice Time With Progress
I’ve had students over the years who wanted to practice for hours.
They were motivated.
They wanted results.
That’s great.
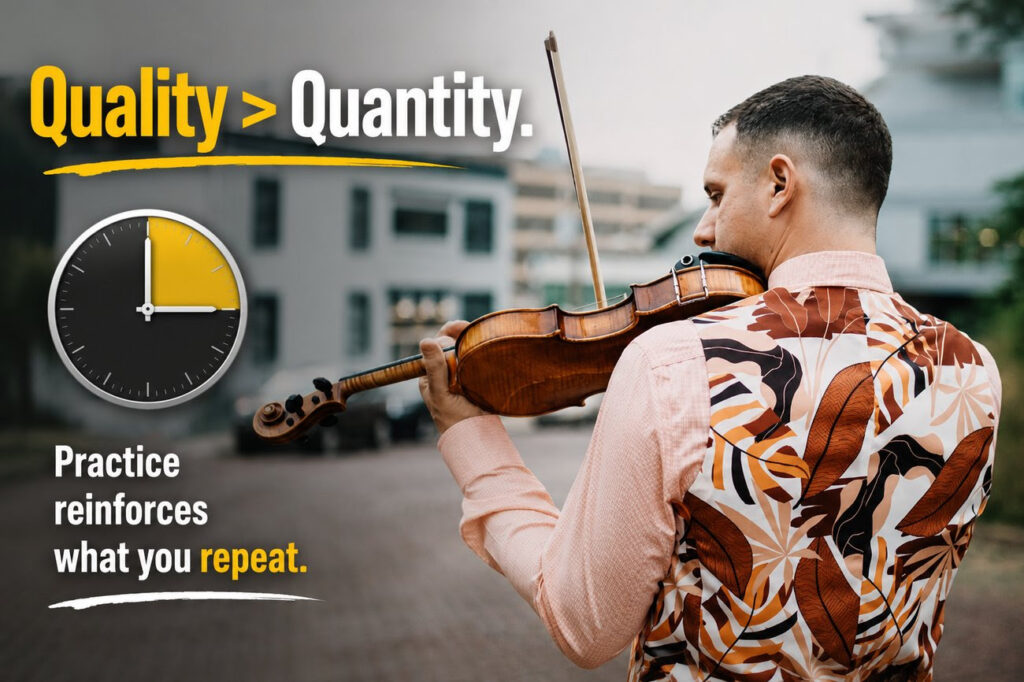
But long practice sessions can actually make things worse if you’re reinforcing the wrong movements.
If you spend three hours playing with a tight bow hand, you’ve just practiced the tight bow hand for three hours.
If the left hand is low, you’ve reinforced that too.
Practice is only as useful as what you’re repeating.
That’s why I emphasize quality practice over quantity.
Consistency matters.
But so does what happens inside the practice session.
How I Would Structure a Beginner Practice Session
You don’t need a complicated routine.
I’d rather see you spend focused time on a few fundamentals.
For example:
- Tune the violin.
Start with the instrument in tune.
- Check posture and setup.
Make sure the violin is supported and your left hand isn’t starting from a poor position.
- Pluck a few notes.
Reestablish left-hand height, finger angle, and light pressure.
- Check the bow hold.
Relax the thumb and fingers before playing.
- Perform a bow drill.
Use the index drill or rocking bow drill to check tension.
- Practice the four-part stroke.
Focus on forearm movement.
- Play your simple song.
Try to preserve everything you’ve just practiced.
- Stop and diagnose problems.
Don’t mindlessly repeat them.
That’s a much better practice session than simply playing the song from beginning to end 25 times.
When something sounds wrong, don't immediately restart the entire song. Identify the problem. Maybe one note is out of tune. Maybe the bow scratches during one stroke. Maybe the left hand drops during one passage. Work on that one thing. Then put it back into the music. This is how practice becomes problem-solving instead of repetition.
Why Beginners Often Need Feedback
This is also the stage where outside feedback can become especially valuable.
You’re now coordinating a lot of things at once.
You may be concentrating so hard on the left hand that you don’t notice what happened to your bow thumb.
You may be watching the bow and not notice that your knuckles dropped.
You may hear that something sounds wrong without knowing which hand caused it.
I’ve told students to use a mirror.
That can help.
Recording yourself can help too.
But even then, a beginner doesn’t always know what to look for.
That’s where a good fundamentals-focused teacher can make an enormous difference.
Someone experienced can often see the problem immediately.
Raise the hand.
Relax the thumb.
Extend the forearm.
Use less finger pressure.
Move the bow differently.
That’s also one of the reasons I’m excited about the LumenCorda community—giving students a place to get help understanding what they’re doing right and what needs to change.
What Does Success Look Like After This Beginner Series?
I don’t expect you to finish four articles and suddenly become an advanced violinist.
That’s not the promise.
What I hope you have is much more important.
Awareness.
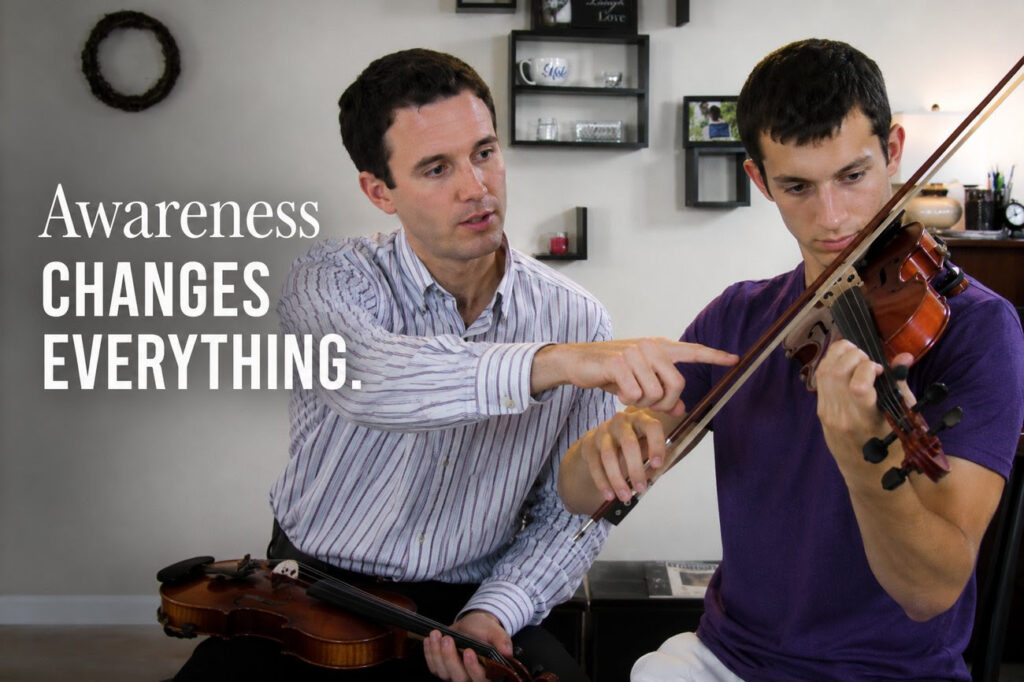
You understand why the left hand needs to stay high.
You know what unnecessary finger pressure feels like.
You understand why the bow thumb shouldn’t control the stroke.
You know what tension can sound like.
You understand that the forearm needs freedom.
You know why we isolated the hands before bringing them together.
And when something doesn’t sound or feel right, you’re beginning to ask:
What am I doing that’s causing this?
That’s a huge step.
Eventually, good fundamentals become muscle memory.
You don’t have to consciously think:
Don’t press.
Raise the hand.
Relax the thumb.
Extend the forearm.
You’ve repeated the efficient movement enough times that it starts happening naturally.
That’s when technique begins creating freedom.
The Full Beginner Violin Path
This four-part series was built to take you through a very specific progression.
Part 1: Violin for Beginners — Setup, tuning, posture, and the fundamentals that prevent bad habits.
Part 2: Violin Notes for Beginners — Left-hand position, finger placement, intonation, and plucking.
Part 3: Violin Bow Hold — Relaxed bow technique, tension, drills, bow preparation, and control.
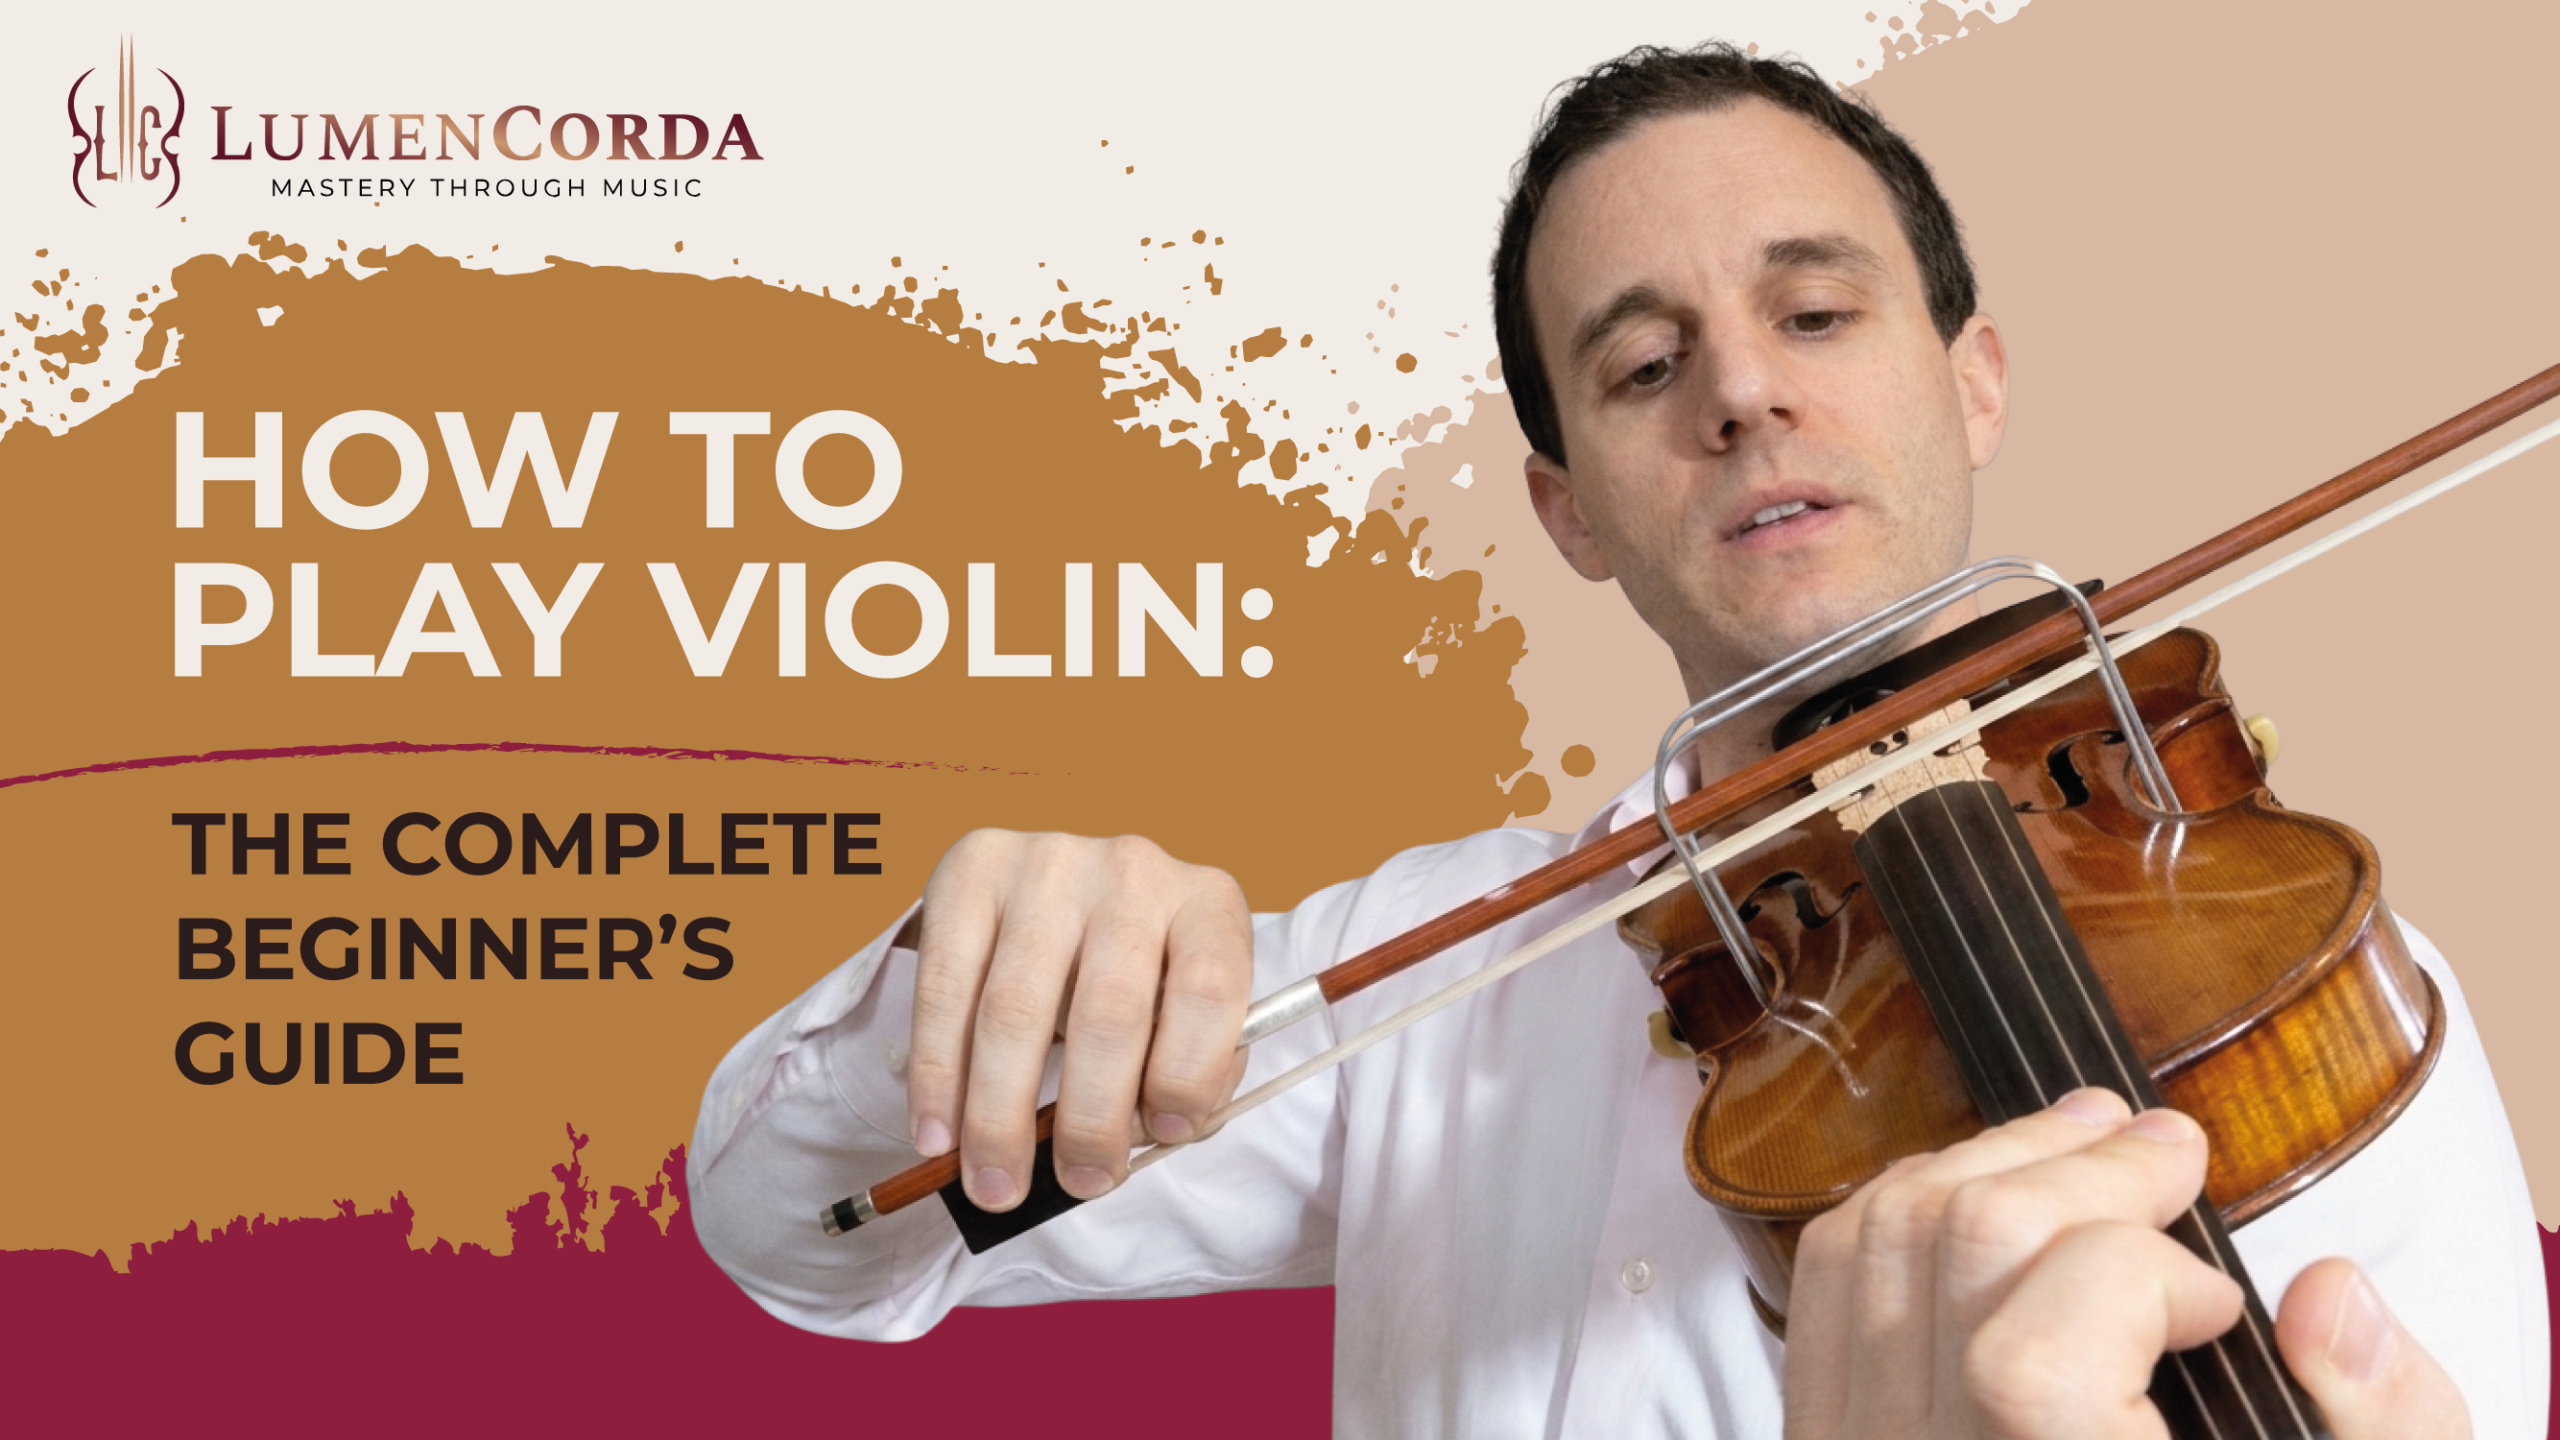
Part 4: How to Play Violin — Putting both hands together and starting to make music.
Each part builds on the last.
And that sequence is intentional.
Learn one thing well. Add another. Then combine them.
Ready to Keep Learning?
You’ve covered the fundamentals of how to play violin — but you don’t need to figure out everything that comes next on your own.
Take the free LumenCorda Violin Path Assessment and I’ll help you identify where you are in your violin journey, what skills you should focus on next, and which lessons and resources will be most useful for you.
Take the Free AssessmentFrequently Asked Questions About How to Play Violin
How do you start playing violin as a beginner?
Start by learning the physical fundamentals rather than trying to do everything at once. I prefer to establish posture, tuning, left-hand position, and finger placement first. Then I isolate the left hand through plucking and develop the bow separately before combining the two. That progression reduces the number of new variables your brain has to coordinate at the same time.
How long does it take to play your first violin song?
It can happen relatively quickly. I've had many adult students putting both hands together within their first month when they practiced each side individually. The exact timing matters less to me than whether the fundamentals are holding together when you begin playing the song.
Should I learn the bow or notes first?
I like separating them rather than thinking one has to be fully mastered before the other exists. You can develop your left-hand notes through plucking while practicing the bow separately. Then, once both sides have some basic awareness and control, bring them together.
Why does my technique get worse when I play a song?
Because your attention is suddenly divided. You may have a good left-hand position when practicing it alone, but once you start concentrating on the bow, the hand drops. The same thing happens to the bow hold when you're thinking about notes. That's normal during the coordination stage. The key is catching the problem, resetting, and repeating the correct movement instead of mindlessly playing through it.
Should my whole arm move when bowing violin?
I don't want the entire stroke driven from a tense upper arm. The forearm needs to extend and release efficiently. That's one of the reasons I teach my four-part stroke: it helps beginners understand the physical components of the movement instead of simply moving the entire arm as one rigid unit.
Why does my violin still sound bad even when I'm playing the right notes?
Because the note itself is only one piece of the sound. Your intonation, bow hold, bow pressure, stroke, tension, contact with the string, finger pressure, and posture all influence what you hear. This is why I don't define success by whether a beginner can simply "get through" a song. How you're playing matters.
How much should a beginner practice violin?
Consistency is helpful, but I care more about the quality of the practice than simply the number of minutes. A focused session where you identify and correct specific problems can be much more productive than hours of repetition with poor technique. Don't only measure how long you practiced. Measure what improved.
What should I practice before playing songs?
I like checking tuning, posture, left-hand height, finger pressure, bow hold, and tension first. Then use simple drills. Pluck a few notes. Practice the index drill or rocking bow. Work through the four-part stroke. Then move into the song while trying to preserve those same fundamentals.
Do beginner violinists need a teacher?
You can learn a great deal through strong instructional material, but feedback becomes especially valuable once both hands are working together. It's difficult for a beginner to watch the left hand, bow hand, arm movement, intonation, and sound simultaneously. A good teacher or experienced violin community can identify problems you may not yet know how to see.
What is the most important skill for learning violin?
For me, it's awareness. Technique improves much faster once you can recognize what you're doing wrong. Eventually, you want to hear the scratch and think about tension, feel the hand dropping, notice the thumb squeezing, or recognize an out-of-tune note and know what needs to change. That's when you're no longer simply following instructions. You're learning how to teach yourself.
Michael Sanchez
Michael Sanchez is the author of Fiddle For Dummies and has more than 25 years of violin teaching experience. His teaching emphasizes strong fundamentals, efficient movement, awareness, and helping students develop technique that supports long-term musical growth.
More About Michael